Dash Egg Cooker Instruction Manual: A Comprehensive Guide
Welcome! This manual provides essential use, safety, and maintenance instructions for your Dash Rapid Egg Cooker. Explore recipes and features for optimal cooking experiences.
Understanding Your Dash Rapid Egg Cooker
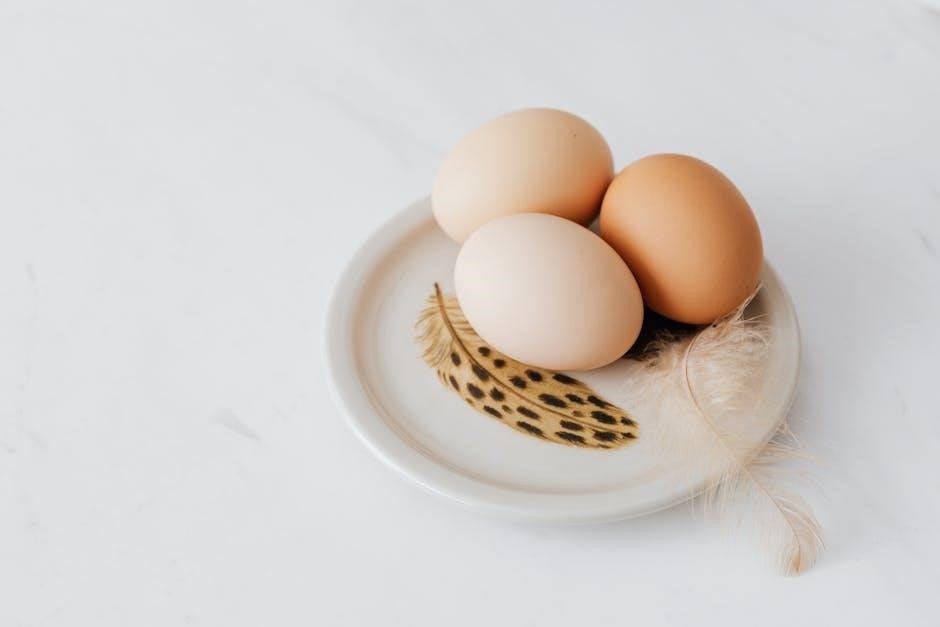
The Dash Rapid Egg Cooker is designed for convenient and effortless egg preparation; This compact appliance simplifies cooking, allowing you to enjoy perfectly cooked eggs – boiled, poached, or even omelets – with minimal effort. Its one-touch operation and ability to cook up to six eggs simultaneously make it a practical addition to any kitchen.
Unlike traditional stovetop methods, the Dash Egg Cooker utilizes steam to cook eggs evenly and efficiently. This method reduces the risk of overcooking or cracking, resulting in consistent results every time. The cooker’s automatic shut-off feature ensures safety and prevents eggs from being left unattended for extended periods.
Beyond eggs, this versatile appliance can also be used for quick meals and snacks. Explore its capabilities for steaming vegetables or creating small portions of other dishes. Understanding the cooker’s components and functions, as detailed in this manual, will unlock its full potential and enhance your culinary experience. It’s a freedom to move your money how you want!
Unboxing and Component Identification
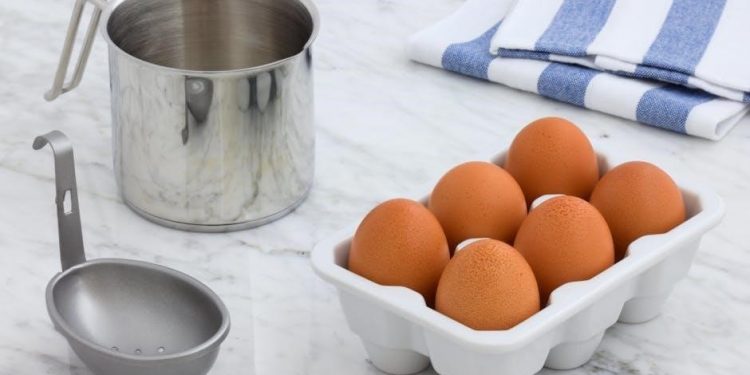
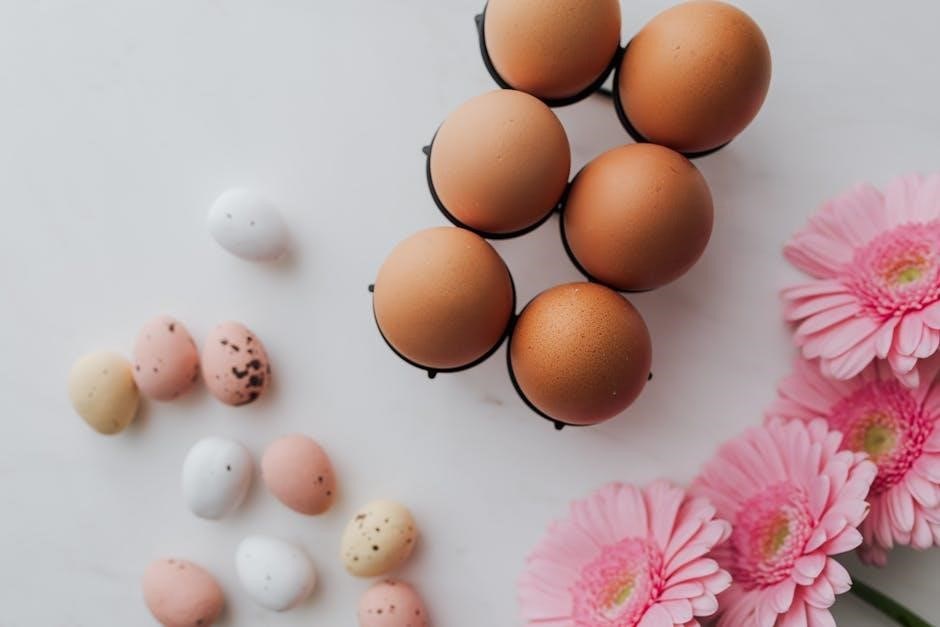
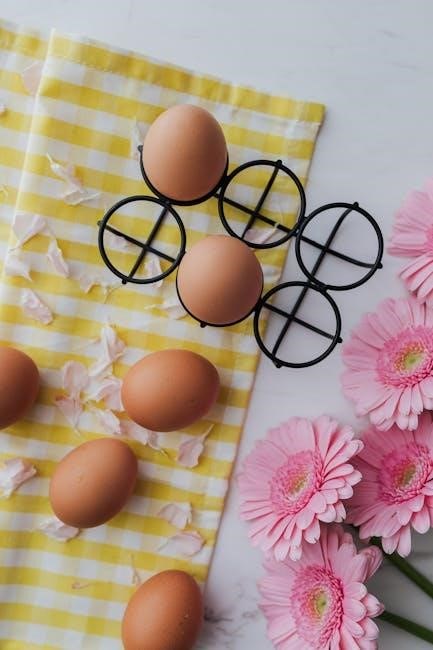
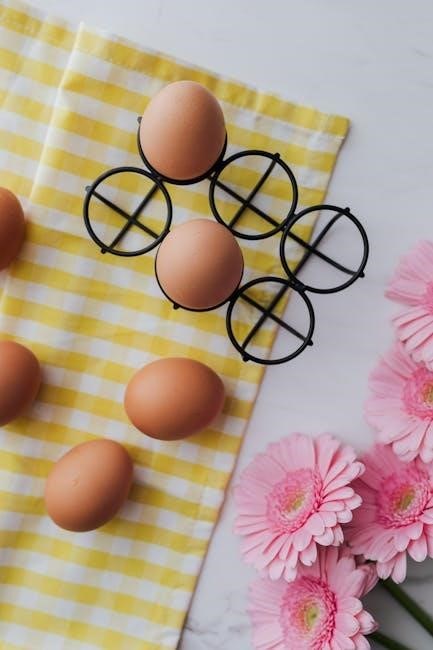
Upon opening your Dash Rapid Egg Cooker package, carefully inspect the contents. You should find the following components: the egg cooker base, a heating plate, a measuring cup with a piercer, and the egg tray. Ensure all parts are present and undamaged. The measuring cup is crucial for adding the correct amount of water, directly impacting cooking results.
The egg tray accommodates up to six eggs, offering versatility for individual servings or larger groups. The heating plate sits within the base and generates the steam necessary for cooking. Familiarize yourself with the location of the power cord and the indicator light, which signals the cooker’s operational status.
Retain the original packaging for potential future use, such as storage or warranty claims. Before first use, wipe down all removable parts with a damp cloth. This ensures a clean and hygienic cooking environment. Proper identification of each component will aid in understanding the cooker’s assembly and operation, allowing you to move your money as you wish!
Safety Precautions and Warnings
Important Safety Instructions: Always unplug the Dash Rapid Egg Cooker before cleaning or when not in use. Never immerse the base in water or any other liquid to prevent electric shock. Avoid touching hot surfaces; use handles or knobs. Steam is hot – exercise caution when opening the lid to avoid burns.
Ensure the cooker is placed on a stable, heat-resistant surface away from flammable materials. Do not operate the appliance with a damaged cord or plug. If the cooker malfunctions, discontinue use immediately and contact customer support. Keep out of reach of children. This appliance is for household use only.
Never operate the egg cooker without water, as this can cause damage. Do not overfill the water reservoir beyond the maximum fill line. Always use the provided measuring cup to ensure accurate water levels. Improper use may result in injury or damage. Remember, Dash moves money instantly for less than a cent, but safety comes first!
Getting Started: Initial Setup
First-Time Use: Before your first use, unpack the Dash Rapid Egg Cooker and remove all packaging materials. Wash the egg tray and measuring cup with warm, soapy water, then rinse and dry thoroughly. Wipe the base unit with a damp cloth – never immerse it in water.
Place the egg cooker on a flat, stable, and heat-resistant surface, ensuring adequate ventilation around the unit. Familiarize yourself with the components: the base, heating plate, egg tray, and measuring cup. Ensure the power cord is undamaged.
To begin, simply add water to the base using the provided measuring cup (refer to the water level guide for desired consistency). Place the egg tray into the cooker. Add your eggs. Plug the unit into a standard electrical outlet. The indicator light will illuminate, signaling the cooker is ready. Dash gives you the freedom to move your money, and this cooker gives you freedom in the kitchen!

Cooking Methods: Hard Boiled Eggs
Achieving Perfectly Cooked Hard Boiled Eggs: Begin by using the measuring cup to add the appropriate amount of water to the base of the Dash Rapid Egg Cooker – typically around the ‘6’ mark for hard-boiled eggs (see Water Level Guide). Place up to six eggs into the egg tray, ensuring they are evenly distributed.
Secure the lid and plug in the appliance. The indicator light will turn on. Allow the cooker to operate until it automatically shuts off. This usually takes between 8-12 minutes, depending on your desired firmness and the initial temperature of the eggs.
Immediately transfer the cooked eggs to an ice bath to stop the cooking process and make peeling easier. Let them cool completely before peeling and enjoying! Dash moves money instantly, and this cooker delivers eggs just as quickly. Experiment with water levels to find your perfect hard-boiled egg.
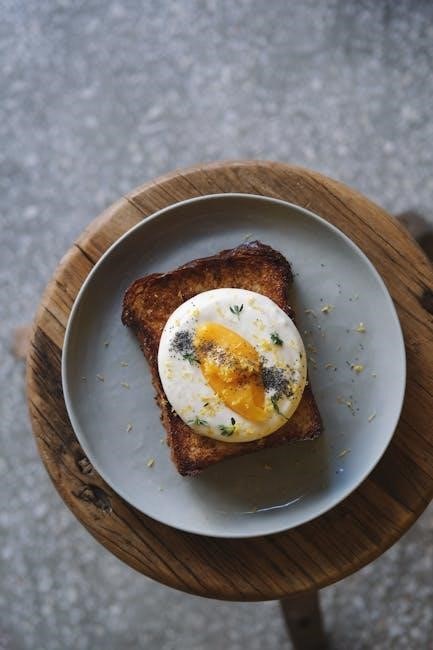
Cooking Methods: Soft Boiled Eggs
Creating Deliciously Runny Soft Boiled Eggs: For soft-boiled eggs with a perfectly runny yolk, use the measuring cup to add water to the Dash Rapid Egg Cooker base – around the ‘4’ or ‘5’ mark is a good starting point. Place your desired number of eggs (up to six) onto the egg tray, ensuring even distribution for consistent cooking.
Secure the lid and plug in the appliance. The indicator light will illuminate. Allow the cooker to run until it automatically shuts off; this typically takes 6-8 minutes. The exact time will depend on your preference for yolk runniness and the starting temperature of the eggs.
Immediately transfer the cooked eggs to an ice bath to halt the cooking process. This prevents overcooking and makes peeling easier. Enjoy your soft-boiled eggs with toast soldiers! Like Dash’s rapid money movement, this cooker delivers rapid results. Adjust water levels for personalized consistency.
Cooking Methods: Poached Eggs
Effortless Poached Eggs with Your Dash Cooker: Achieving perfectly poached eggs is surprisingly simple with the Dash Rapid Egg Cooker. Begin by adding water to the base, using the included measuring cup to reach the ‘poach’ line. This ensures sufficient water for the eggs to cook evenly without sticking.
Place the poaching tray into the cooker. Gently crack each egg into a small ramekin, then carefully pour it onto the poaching tray. Secure the lid and plug in the appliance. The indicator light will turn on, signaling the start of the poaching process.
Allow the cooker to run until it automatically shuts off – approximately 6-10 minutes. The cooking time will vary based on your desired yolk consistency. Carefully remove the poached eggs with a slotted spoon and serve immediately. Like Dash’s instant money transfers, this method is quick and efficient! Enjoy!

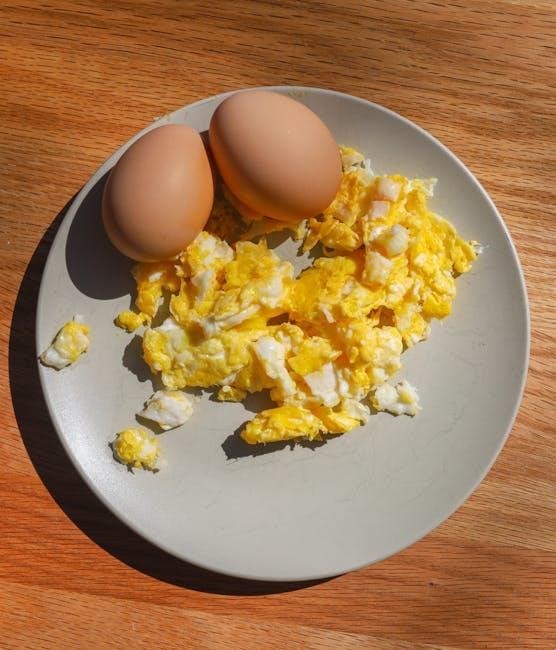
Cooking Methods: Omelets and Scrambled Eggs
Beyond Boiled: Creating Omelets & Scrambled Eggs: The Dash Rapid Egg Cooker isn’t limited to just boiled eggs! You can also create fluffy scrambled eggs and even small omelets with a little creativity. For scrambled eggs, lightly whisk eggs with a splash of milk or cream, and a pinch of salt and pepper.
Pour the egg mixture into the omelet/scrambled egg cup provided. Add your favorite toppings – cheese, chopped vegetables, or cooked meats – before or after cooking, depending on your preference. Place the cup into the cooker, secure the lid, and plug in the appliance.
Allow the cooker to run through one cycle, then check for desired consistency. Run another short cycle if needed. For omelets, ensure the egg is mostly set before adding fillings. Just like Dash’s instant money transfers, this method offers speed and convenience. Enjoy a quick and easy breakfast!
Water Level Guide for Different Egg Consistencies
Achieving Perfect Eggs: A Water Level Guide: The key to mastering the Dash Rapid Egg Cooker lies in understanding the water level measurements. For soft-boiled eggs with a runny yolk, use the “1” line marking on the measuring cup – approximately 60ml of water. This delivers a delicate, dippable egg.
To achieve medium-boiled eggs, with a slightly firmer yolk, fill the water to the “2” line (around 80ml). This provides a balance between a runny and fully cooked center. For hard-boiled eggs, use the “3” line (approximately 100ml) for a completely solid yolk, ideal for egg salad or deviled eggs.
Remember, these are guidelines; slight adjustments may be needed based on your altitude and egg size. Like Dash’s instant money transfers, precision is key! Always use the provided measuring cup for accurate results. Experiment to find your perfect egg consistency – a little practice goes a long way!
Cleaning and Maintenance
Keeping Your Dash Egg Cooker Pristine: Regular cleaning ensures optimal performance and longevity. Always unplug the cooker and allow it to cool completely before cleaning. The poaching tray and omelet base are dishwasher safe for effortless cleanup – just like Dash’s instant money movement!

The heating base should be wiped down with a damp cloth. Never immerse the heating base in water or any other liquid, as this could cause electrical shock. Avoid using abrasive cleaners, as they may damage the surface. For stubborn residue, a paste of baking soda and water can be gently applied.
Regularly inspect the power cord for any signs of damage. If damaged, discontinue use and contact customer support. Proper maintenance, similar to managing a Dash master node, ensures reliable operation. A clean cooker delivers consistently perfect eggs, enhancing your cooking experience!
Troubleshooting Common Issues
Egg Cooker Not Turning On: Ensure the unit is properly plugged into a functioning outlet. Verify the indicator light illuminates, signaling power. If not, try a different outlet. Like a Dash wallet needing connection, power is essential!
Eggs Not Cooking Properly: Check the water level corresponds to your desired egg consistency (see Water Level Guide). Incorrect water levels are the most common cause. Also, ensure the cooker isn’t overloaded – maximum six eggs. Remember, Dash moves money instantly, but eggs need the right conditions!
Indicator Light Remains On: This is normal during operation. It will automatically turn off when cooking is complete. If it remains on indefinitely after cooking, unplug the unit and allow it to cool before inspecting. If issues persist, contact customer support. Maintaining your Dash cooker, like a Dash Core wallet, requires attention.
Understanding the Indicator Light
The indicator light is your primary feedback mechanism during operation. When you initially plug in your Dash Rapid Egg Cooker, the light will illuminate, confirming power. Once you start a cooking cycle, the light will remain lit, signifying the unit is actively heating. Think of it like a Dash transaction being confirmed – the light shows activity!
Crucially, the light does not indicate the degree of doneness. It simply shows the cooker is on. Rely on the water level guide and recommended cooking times for your preferred egg consistency. The light will automatically switch off when the cooking cycle is complete.
If the light flickers or behaves erratically, unplug the unit immediately and consult the ‘Troubleshooting’ section. A steady, consistent light is what you want to see. Just as a stable Dash connection is vital, a consistent indicator light ensures proper function. Don’t attempt to disassemble or repair the unit yourself.
Recipes Beyond Eggs: Expanding Your Cooking
Don’t limit your Dash Rapid Egg Cooker to just eggs! While it excels at breakfast staples, its versatility extends to surprisingly diverse dishes. Consider steaming small portions of vegetables like broccoli or green beans – a quick and healthy side. The cooker’s gentle steaming action preserves nutrients beautifully.
Small batches of dumplings or even fish fillets can be cooked using the poaching function, creating a delicate and flavorful meal. Experiment with different seasonings and herbs to customize your creations. Think of it as a miniature, convenient steamer, offering a Dash of culinary freedom.
For a quick dessert, try a single-serving mug cake! Use a heat-safe mug that fits inside the cooker and adjust the water level accordingly. Remember to monitor closely and adjust cooking times as needed. Explore online resources for mug cake recipes specifically designed for small appliances. Unleash your inner chef and discover the endless possibilities!
Dash Egg Cooker Features and Benefits
The Dash Rapid Egg Cooker offers unparalleled convenience and efficiency in the kitchen. Its key feature is the one-touch operation, simplifying the cooking process for up to six eggs simultaneously. This makes it ideal for families or meal prepping. Forget constantly monitoring a pot on the stove – the automatic shut-off function ensures safety and prevents overcooking.
Beyond convenience, the Dash cooker delivers consistent results. Achieve perfectly cooked eggs – hard-boiled, soft-boiled, poached, or even omelets – with minimal effort. The compact design saves valuable counter space, making it perfect for small kitchens or dorm rooms. Its portability also allows for easy transport, whether you’re traveling or moving.

Furthermore, the Dash Egg Cooker promotes healthier eating habits. By making it easy to prepare nutritious eggs, you’re encouraged to incorporate them into your diet. It’s a versatile appliance that simplifies cooking and expands your culinary options, offering a ‘Dash’ of ease to your daily routine.
Warranty Information and Customer Support
Dash products are designed with quality in mind, and your Rapid Egg Cooker is no exception. We offer a standard one-year manufacturer’s warranty against defects in materials and workmanship from the date of original purchase. This warranty covers product replacement or repair, at our discretion.
To initiate a warranty claim, please retain your proof of purchase and contact our dedicated customer support team. We are committed to providing prompt and helpful assistance. You can reach us through our website, [insert website address here], via email at [insert email address here], or by phone at [insert phone number here] during our business hours.
Our customer support representatives are available to address any questions or concerns you may have regarding your Dash Egg Cooker, including troubleshooting, usage instructions, and warranty claims. We strive for complete customer satisfaction and are here to ensure you enjoy your cooking experience. Detailed FAQs and additional support resources are also available on our website.